

Certainly! Here are some tips for making a delicious banana cake:
1. Choose ripe bananas: The riper the bananas, the sweeter and more flavorful your cake will be. Look for bananas with brown spots on the skin, as they have a softer texture and a higher sugar content.
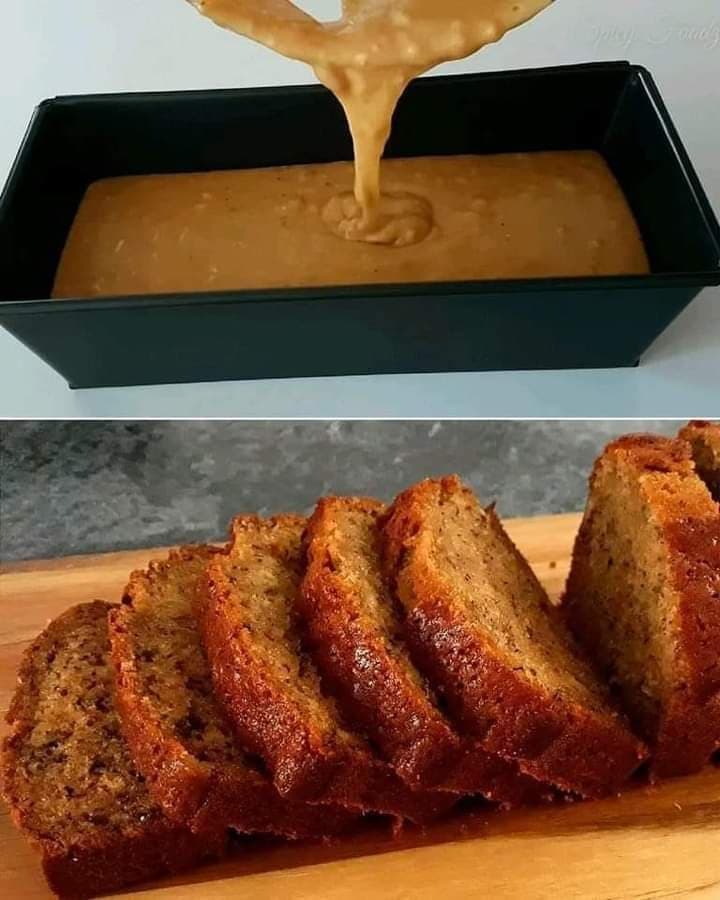
2. Mash bananas well: Mash the bananas thoroughly to create a smooth and even texture in your cake batter.
3. Use the right flour: For a healthier option, consider using whole wheat flour or a combination of whole wheat and all-purpose flour. Whole wheat flour adds more fiber and nutrients to the cake.
4. Add flavor and texture: Enhance the taste and texture of your banana cake by incorporating additional ingredients. You can add chopped nuts like walnuts or pecans for crunchiness, or fold in some chocolate chips or shredded coconut for extra flavor.
5. Adjust sweetness: Depending on the ripeness of your bananas, you may need to adjust the amount of sugar in your recipe. Ripe bananas are already sweet, so you may be able to reduce the amount of added sugar.
6. Consider using buttermilk or yogurt: Adding buttermilk or yogurt to the batter can make your cake moist and tender. They also add a subtle tangy flavor that complements the sweetness of the bananas.
7. Don’t overmix: When incorporating the dry ingredients into the wet ingredients, mix until just combined.
8. Preheat the oven: Ensure that your oven is properly preheated before baking the cake. This helps to ensure even baking and a properly risen cake.
9. Test for doneness: Insert a toothpick or a cake tester into the center of the cake to check for doneness.If there’s batter clinging to it, bake the cake for a few more minutes.
10. Let it cool before frosting: Allow the cake to cool completely before applying any frosting or glaze. This prevents the frosting from melting and sliding off the cake.
Remember to have fun and be creative while making your banana cake. Feel free to experiment with different variations and toppings to suit your preferences.
Enjoy!