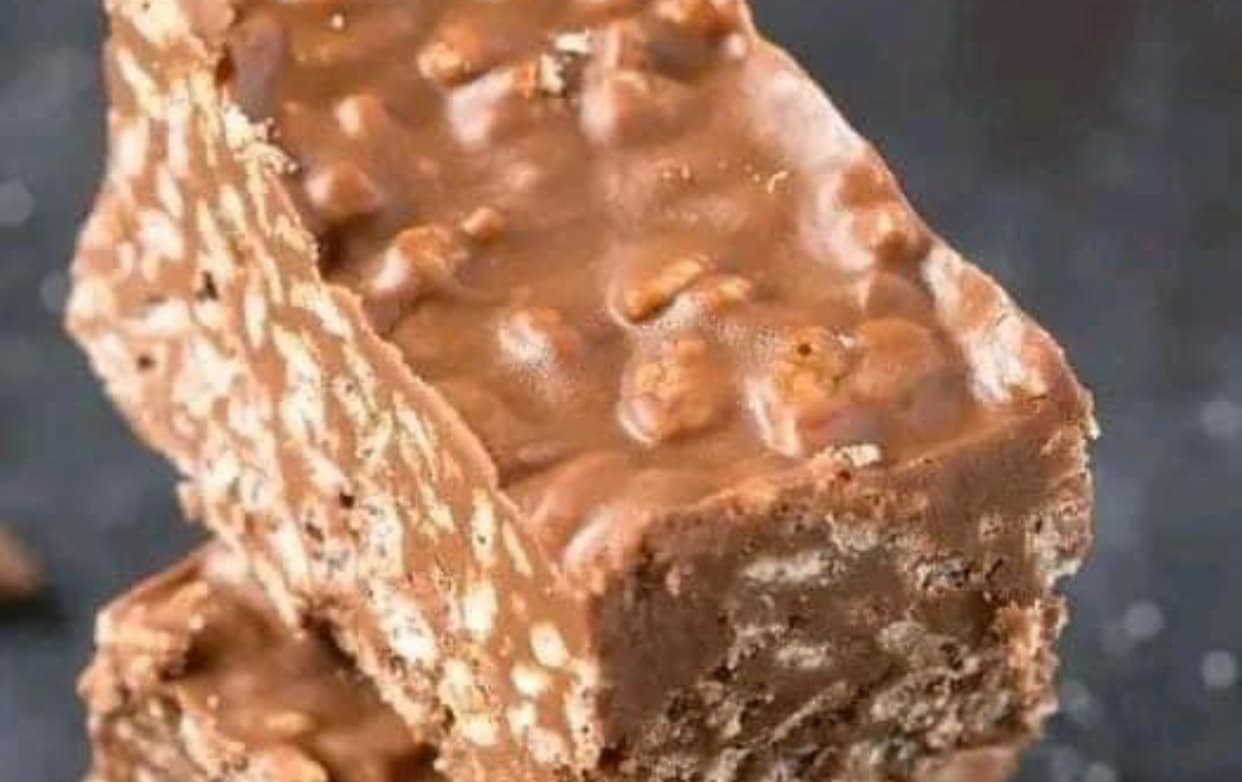
PREPARATION:
Chill & Set: Pour the mixture into the pan and spread evenly. Let it chill in the fridge for 2 hours or until firm.
Cut & Relish: Once firm, extract using the parchment, cut into bars, and let the feast begin!
The Art of Crafting the Perfect Crunch Bars:
Chocolate Matters: Your bars are only as good as your chocolate. Opt for premium quality for an unparalleled taste.
Coconut Oil Chronicles: This wonder ingredient adds smoothness and a hint of the tropics to your bars.
Crispiness is Key: Ensure your cereal is fresh and crunchy for that irresistible bite.
Wait it Out: Let the bars set completely to enjoy the perfect texture.
Expert Hacks:
Add 2 tablespoons of creamy peanut butter for a nutty twist.
A sprinkle of sea salt on top before refrigerating adds a gourmet flair.
For added depth, mix in some crushed nuts or granola.
FAQs:
Dark Chocolate? A big yes! If you love the robust taste of dark chocolate, go for it.
Shelf Life? In an airtight container, they’ll remain fresh for up to a week in the fridge.
Vegan Version? Swap with vegan chocolate chips and ensure the rice cereal is vegan.
Nuts & Dried Fruits? Absolutely! Add them for an extra layer of taste and texture.
Elevate Your Crunch Bar Experience:
Caramel Heaven: Drizzle some caramel for a salty-sweet twist.
Ice Cream Dreams: Serve with vanilla or coconut ice cream for a divine duo.
Berry Good: Fresh berries provide a tangy contrast to the dense chocolate.
Brew & Bar: Pair with coffee or tea to heighten the flavors.
In conclusion, these No-Bake Homemade Crunch Bars are more than just a treat; they’re an experience, an emotion. Whether it’s a casual snack, a party dessert, or a midnight craving, these bars will never disappoint. Loved it? Share your feedback and spread the chocolate love!


